
Play Blooket Host
Blooket is one of the most popular and interactive educational platforms used by teachers and students to make learning fun. It allows teachers to host various educational games that engage students in an exciting way while helping them grasp key concepts. If you’re new to Blooket or want to understand how to play Blooket as a host, this guide is for you.
We will walk you through the steps of hosting a game on Blooket, the features it offers, and how you can use it effectively in the classroom.
Table of Contents
What Is Blooket?
Blooket is an online learning tool that blends education with fun through gamified quizzes and challenges. Students answer questions in various formats while competing in different game modes. As a teacher or host, you have the power to control the game, decide the content, and manage student participation. It is perfect for teachers seeking to engage students in learning in an interactive manner.
Benefits of Hosting Blooket Games
Hosting games on Blooket has multiple advantages:
- Engagement: Games encourage students to participate actively, which improves learning outcomes.
- Customizable content: Hosts can create custom question sets or use pre-made ones available on Blooket.
- Versatility: Blooket has different modes like Tower Defense, Gold Quest, and more, catering to various interests.
- Progress tracking: Teachers can keep track of student progress in real-time during the game.
- Fun: It transforms traditional learning into an enjoyable experience.
How to Play Blooket as a Host
1. Create a Blooket Account
To host a game on Blooket, the first step is creating an account. Here’s how:
- Visit blooket.com and click on “Sign Up.”
- You can sign up using your email or Google account.
- Once signed up, log in to access your dashboard.
2. Explore Game Sets
Before hosting, it’s essential to explore or create game sets. Here’s how:
- On your dashboard, click on the “Discover” tab to explore thousands of pre-made question sets.
- If you prefer creating your own set, click “Create” and add your own questions. You can add multiple-choice questions with varying difficulty levels.
- Save the set once complete.
3. Choose a Game Mode
Once your question set is ready, the next step is choosing a game mode. Blooket offers several modes, each with its unique gameplay:
- Gold Quest: Players answer questions and compete to collect the most gold.
- Tower Defense: Players answer questions to build and upgrade towers.
- Battle Royale: Players face off against each other in one-on-one battles.
- Factory: Players manage factories and answer questions to earn upgrades.
Choose the game mode that best suits your class’s preferences. Remember, the mode determines how students will play, but the questions remain the same.
4. Host the Game
Now it’s time to host the game. Follow these steps:
- Click on the question set you want to use and select “Host”.
- Choose the desired game mode.
- Customize the game settings, such as time limits, number of questions, or enabling power-ups.
- Click on “Host Now” to generate a game code.
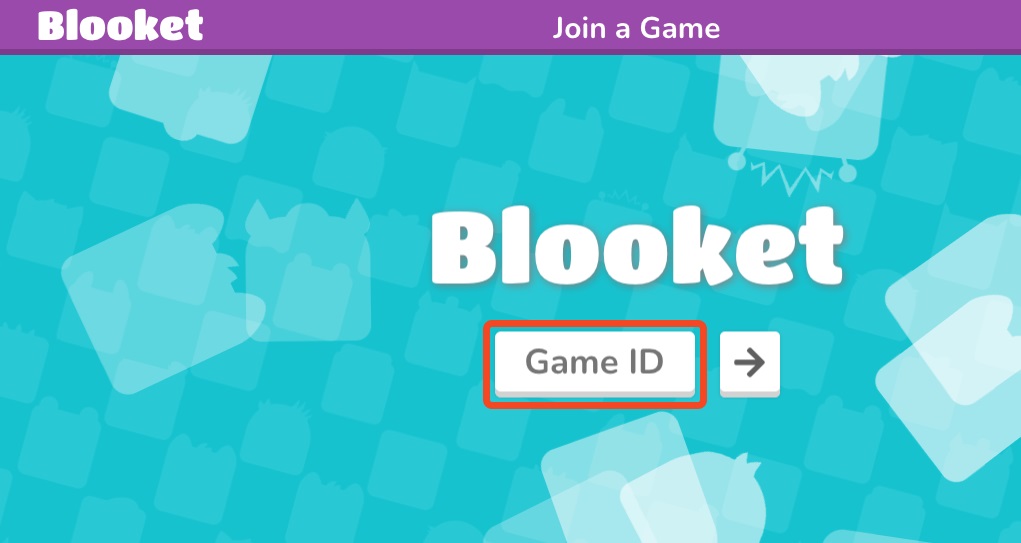
5. Invite Students to Play
Once the game is live, you’ll get a game code. Share this code with your students so they can join the game. Here’s how students can join:
- Students visit blooket.com/play and enter the code.
- Once they enter the code, they can select an avatar (known as a Blook) and get ready to start.
6. Manage the Game
As the host, you have full control over the game. You can:
- Monitor student progress: See how each student is performing in real-time.
- Pause the game: If you need to discuss something or answer a question, you can pause the game.
- End the game: Once the game is finished, you can end it, and students will see their scores.
7. View Results and Reports
Once the game is complete, Blooket provides detailed performance reports. These reports include:
- The number of correct and incorrect answers for each student.
- Time spent on each question.
- A breakdown of individual and group performance.
This data can be used to analyze student understanding of the material and identify areas where further teaching is required.
Key Tips for Hosting Blooket Games Successfully
Here are some key tips to enhance your hosting experience:
- Customize the game: Adjust settings to match your students’ needs. For instance, you can add a time limit or enable power-ups to make the game more challenging.
- Choose the right mode: Some game modes are better suited for certain types of content. For example, Gold Quest is great for a fast-paced quiz, while Tower Defense is more strategic.
- Engage students: Ask students for feedback on which game modes they enjoy the most, and rotate modes to keep the experience fresh.
- Monitor progress: Use the reports to check if students are struggling with particular questions, and adjust your teaching accordingly.
- Encourage teamwork: Consider dividing students into teams to foster collaboration and healthy competition.
Fun Features of Blooket
While hosting games on Blooket, you’ll notice a few fun features that make the platform stand out:
- Power-ups: These are special abilities that players can use during games to gain an advantage, such as stealing points from others or boosting their score.
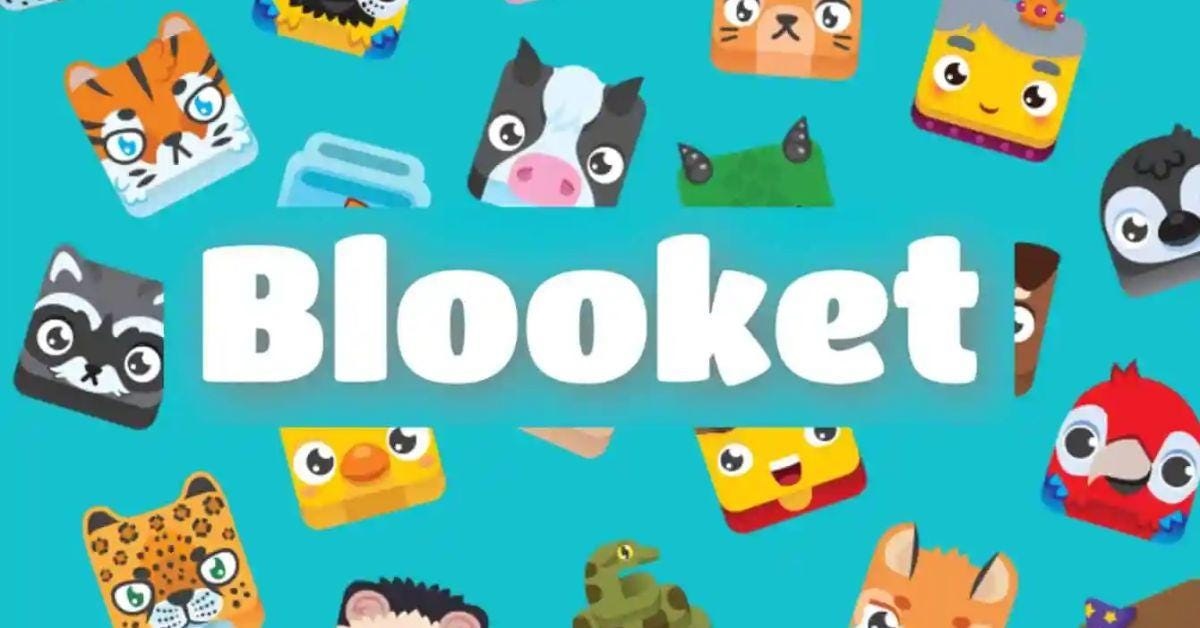
- Avatars (Blooks): Students can choose and unlock different avatars to personalize their gaming experience. They earn avatars by playing and winning games.
- Leaderboards: After the game, students can see how they rank compared to their peers, adding a competitive element to the experience.
These features enhance the gaming atmosphere, keeping students excited and motivated to learn.
Frequently Asked Questions About Hosting Blooket
Can I use Blooket for all subjects?
Yes! Blooket is extremely versatile and can be used for all subjects, including math, science, history, and language arts. You can create question sets based on the material you’re teaching or find pre-made sets.
Is Blooket free to use?
Blooket offers a free version with many features. However, there is also a paid version (Blooket Plus) that provides additional features, such as enhanced game modes and more detailed reporting.
How many students can join a Blooket game?
In the free version, you can host games with up to 60 players, while the paid version allows for up to 200 players. This makes Blooket ideal for small classrooms as well as large groups.
Can I assign Blooket games for homework?
Yes! Blooket allows you to assign games as homework. Simply click the “Assign Homework” button instead of “Host” after selecting your question set, and students can complete the game on their own time.
Are the games competitive?
Blooket games can be both competitive and collaborative. Some modes encourage students to compete against each other, while others can be adapted for team play or solo practice.
Conclusion
Blooket is an exceptional tool for making learning more enjoyable and interactive. As a Blooket host, you have the power to engage your students in a unique way that fosters better understanding and retention of educational material. By following the steps outlined above, you’ll be able to host exciting and educational Blooket games in no time.
Whether you’re using it for real-time classroom quizzes or assigning it for homework, Blooket offers a great mix of fun and learning that students will love. Give it a try and see how it transforms your teaching experience!
Also read – Blooket Flooder: What It Is and How It Works